Science Experiments for Kids
If you’re stuck for things to do with the kids and are bored of colouring or playing dress-up, maybe maths isn’t your thing, then look no further than these fun and easy science experiments you can do at home.
1. Growing Cress
Growing cress is always a fun thing to do. Not only do the kids get to experience growing their own plants but they get to eat them, too. However, this experiment has a little twist because it allows the children to explore where cress seeds grow best.
We know that for a plant to grow successfully it needs 5 things:
- Soil
- Space
- The right temperature
- Sunlight
- Water
So, in this experiment, we take away some of the things the cress needs to grow to see what happens to them.
You will need:
- Cress seeds
- Soil
- Cotton wool
- 5 small plant pots
Plant a pot of cress seeds with all the things they need. So, plant them in soil and leave them on the windowsill to grow where they can get sunlight and be sure to water them often (but not too much you don’t want them to rot).
Without cotton wool: Plant some of the seed with no cotton wool or soil. You may want to swap the plant pot for a small plastic dish. Make sure you water them.
Without warmth: Plant some more in a separate plant pot on top of some cotton wool (no soil) and leave in a cold place. Make sure you water them.
Without light: Plant another pot with some cotton wool and place them in a dark place. Make sure you water them.
Without water: Plant another pot with the seeds with cotton wool in the bottom and place some more on top of the seeds and don’t water them.
Wait for the seeds to grow and see which ones look best! If you can’t be bothered with doing the full experiment, you could just plant the seeds with everything they need and enjoy the cress in an egg mayonnaise sandwich.
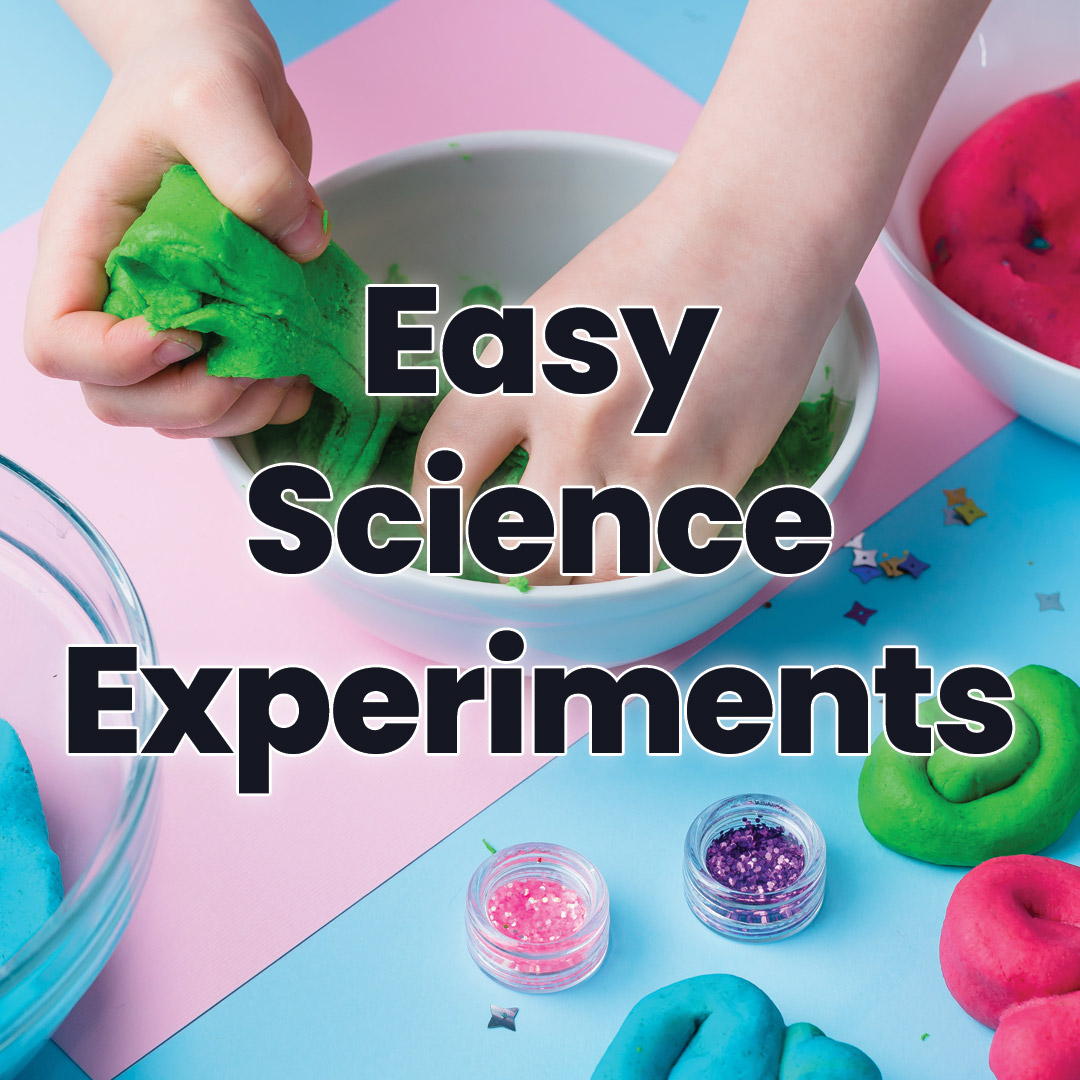
2. Make your own play dough
This experiment is not only educational but when the playdough is made, the kids will have hours of fun playing with it. You’ll probably have most of the ingredients in your cupboard, too, so no need to make a special trip to the shop.
You will need:
- 8 tablespoons of plain flour
- 2 tablespoons of table salt
- 60ml of warm water
- Food colouring
- 1 tablespoon of vegetable oil
- 2 large mixing bowls
- An adult to help
How to:
- Mix the flour and salt in the mixing bowl
- In another bowl, mix the water with a few drops of your favourite food colouring and the oil
- Pour the coloured water into the flour mix and bring the two together with a spoon
- Dust a work surface (if it’s sunny why not do this outside to avoid mess inside) and turn the dough out onto it. Knead the dough like bread until it is smooth and easy to work with
- If you want a better colour, add in a few more drops of the food colouring to get an intense colour
- Now you can play with it. If you want to store it, the dough will keep in a plastic sandwich bag, with the air squeezed out of it, and in the fridge to keep it fresh.
- You could make different coloured batches. Let your imagination run wild!
3. Balloon race cars
This experiment is great fun for all the family and everyone can join in and make their own cars.
You will need (per car):
- Card sheet
- Balloon
- Sellotape
- 2 plastic straws with flexible ends
- Scissors
- Ruler
- Pencil
- Drawing compass
- 2 x 4mm dowel 100mm long
How to:
- Adults may want to do this bit for you. On the card draw a rectangle that is 8 cm x 20cm and four circles that are 8 cm in diameter. Cut each piece out, making the wheels as round as you can.
- You might want to colour the cars or make pretty patterns on them.
- Cut one of the straws into 2 x 7.5 cm pieces. These will be the axle bearings for the wheels of the car. Tape the two pieces of the straw to the car – one at each end, making sure they are parallel.
- Slide one piece of dowel through each straw.
- Pierce a hole in the centre of each of your wheels and slide each one onto the dowel so you have 4 wheels. It should start to look like a car. You might need to tape the wheels to stop them falling off.
- Inflate your balloon a few times to give it a bit of stretch.
- Place the nozzle of the balloon over the end of the straw (the end nearest the bendy bit). Secure the nozzle of the balloon to the straw with tape. It needs to be tight enough so you can inflate the balloon by blowing through the other end of the straw.
- Tape the straw with the balloon on it to your car so that it is vertical to the wheels.
- Inflate your balloon and pinch the straw so the air can’t escape. Put the car on a flat surface and let go. See how far it travels.
- When you have all made one you can race them against each other. You could also try altering the size and shape of the car to see if that allows it to travel faster or slower.
4. Build your own rocket
This experiment is definitely for outdoors only.
You will need:
- Empty plastic bottle
- Vinegar
- Baking soda
- Cork
- Wooden lolly sticks or pencils
- Sellotape
- Scissors
- Paper towel
How to:
- Take the lolly sticks or pencils to the bottle at the cap end. You’ll need to space them around the bottle and they will need to be long enough to stick out past the bottle cap. Your rocket should now be able to stand up without you holding it. (Remember the bottle cap should be facing the ground).
- Check that the cork fits the bottle well, if it’s too small or big you may need to use some duct tape to help it fit better.
- Decorate your rocket ready for launch!
- When your rocket is ready for take-off, you’ll need an adult to help you with this part! And you will need some safety goggles, too! Make sure you are outside and in a large space.
- Pour 100-200ml of vinegar into your bottle.
- Place one heaped tablespoon of baking soda into the centre of a square of paper towel and secure by bringing the four corners to the middle and twist. Make sure it is small enough to fit inside the bottle
- Push the paper towel so it is just sitting in the bottle mouth and quickly place the cork inside the opening. Put the bottle cork side down – do this in one quick motion as you won’t have long before the vinegar and baking soda react.
- Get back and countdown to blast-off!
Science can be fun, it’s not all about boring laws and theories. Most of these experiments are not only educational but also allow everyone at home to join in. You could also get older children to write about what they’re doing and what they’ve learnt and share it with their teachers, making you home-schooling king or queen!